CMS Guide 2018/10/16
Products
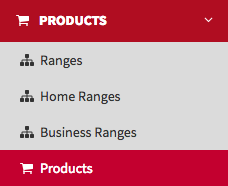
This is where you create all the range pages and all the product pages. If you click on Product
on the left-hand menu you will see the options Ranges, Home Ranges, Business Ranges
and Products.
Remember, it’s essential to stay on brand. Refer to the style guide
for examples of writing
product descriptions and choosing product images.
Let’s start with Ranges.
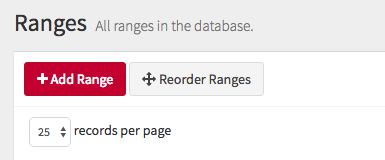
Ranges

A standard range is a collections of products by type. These will appear in the Ranges section of the website. You will need to create all the ranges: Air Conditioning, Heating, Commercial Air Conditioning, VRF Systems, Chillers and Air Renovation.
To create a range, click on the Add Range button.
Once you are in you will see a list of different fields you need to fill. Those marked with
an asterisk are mandatory.
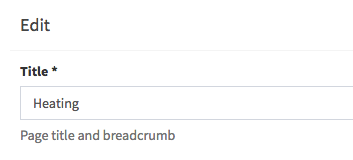
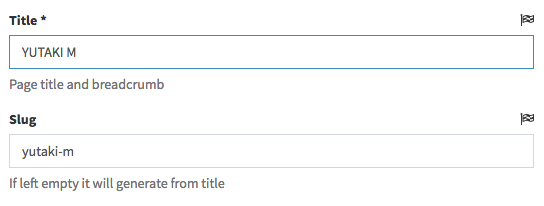
Title
This is the range name.
Slug
The
part of the URL which identifies the page. The slug must be written in lower case and use
hyphens instead of spaces.
Now you will see three tabs: General, Elements and Images.
General
Subtitle
This the title that appears above headline in equipment section.
It’s usually the range name.

Text
A short description of the range.


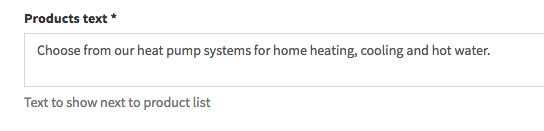
Products text
This appears above the product listing on a range page.

Before finally clicking the Save and back button, look at the Images tab.
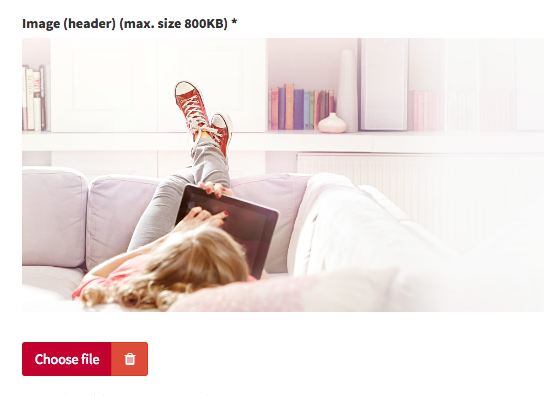
Images
Click on Choose file and choose the range header image.
Then click on the
second Choose file button to select the range grid image.
Now click on Save and
back.
Click the Edit button on the new range to continue editing this range.

Now go to the Elements tab.
Elements
To create a new range element click on Add Range Element. In Ranges we can create
up to three elements. That’s the limit. Once you have created three elements you can’t
create more. If you want to create a new one you need to delete one and save so the Add
Range Element button appears again.
Here you need to choose an image file
and write a description.
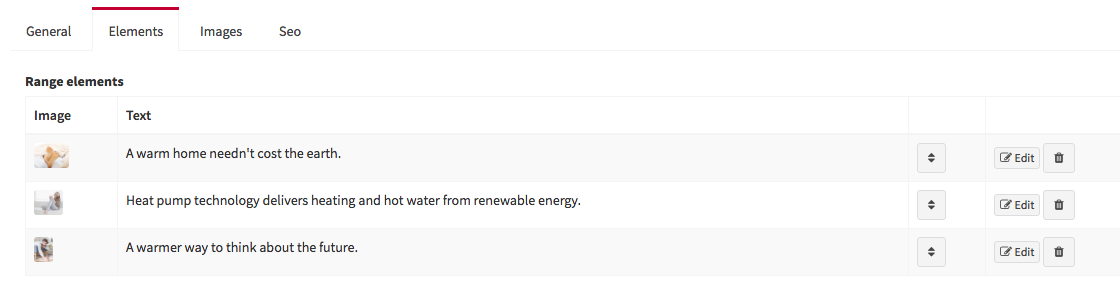
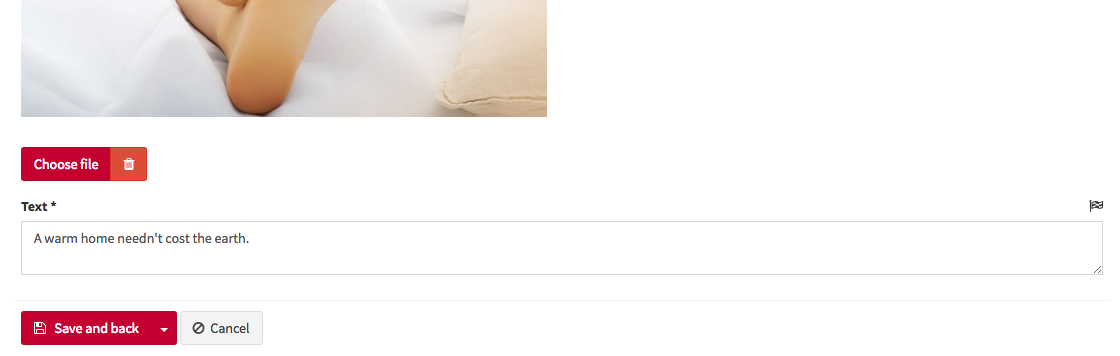
Once you have created all the range elements click Save and back to save your updates.
Home Ranges
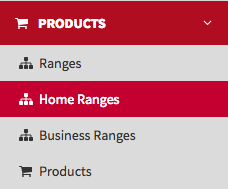
Now we are going to create the In your Home ranges. This collection of ranges will
appear in the website In your Home section.
These are not the same as the
standard ranges, even though their names could be the same. These ranges are themed
collections of products.
For example, we have Ranges>Air Conditioning as
an equipment range which includes all the air conditioning products. But we also have the
In your Home>Air Conditioning range that only includes air conditioning products
related to the theme of Home.
The creation of In your Home ranges is similar to standard ranges, except we also have a products selector to choose suitable products for this specific range.

Business Ranges
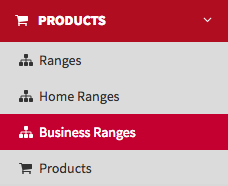
The creation of the In your Business ranges is similar to standard ranges, except
we also have a products selector to choose suitable products for this specific range.
Just
like the In Your Home ranges, these ranges are themed collections of products.
Here the ranges are product collections relevant to business premises types, for example
Restaurants, Clinics and Commercial Offices.
These ranges will appear in the
website’s In your Business section.
Products
This is where you add individual products. To create a new product page, click Add
Product.
Fields marked with an asterisk are mandatory. The first two fields
you will see are Title and Slug.
Title
The product name
Slug
The part of the URL which
identifies the page. The slug must be written in lower case and use hyphens instead of
spaces.
Next there are four tabs: General, Images, Elements and Data tables.
General
Text
This is the product description text.
Range
This
is a selector to choose the Range to which this product belongs. You must create all the
Ranges first.
Home Range
If this product belongs to a Home Range,
select it here. You must create all the Home Ranges first.
Business Range
If
this product belongs to a Business Range, select it here. You must create all the Business
Ranges first.
Downloads
This is a selector to choose downloads
related to the products. These materials are added to the CMS via the Resource>Downloads
section.
Before clicking the Save and back button, go to the Images tab.
Images
Click on Choose file to choose the range header image.
Click on the second
Choose file button to choose the range grid image.
Now go to the Elements
tab.
Elements
Here we can create new elements by clicking on Add Product Element. These elements
contain the product features and benefits.
This will display a list of options.
First we see a selector of the type of element you wish to create: Image + Text, Text +
Image, Text, Slider, or Image.
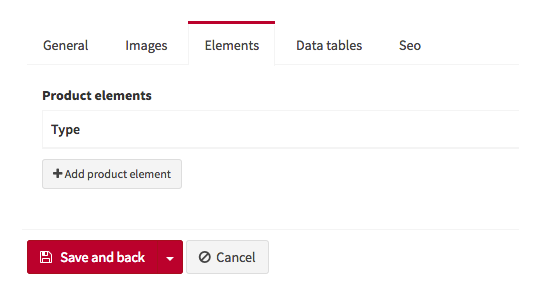
Image + Text
A display module with the image on the left
of the text.
Title
A short headline.
Text
A
long description.
Image
The image that sits left of the text.
After
you‘ve added the details click Save and back.
The other elements work in the same way.

Text + image
A display module with the image on the right
of the text.
Text
A text only module.
Slider
A series of images displayed in slider. Click Add
product element image to populate the slider.
Image
A full-width image, with the text displayed above.
Once
you’ve added all your elements, click on Save and back.

Now go to the Data Tables tab.
Data Tables
This is where you upload the product’s technical information.
Set the Type to Single
or Multiple.
Single is for products with one technical data
table.
If you select single you need to first upload a PDF version of the technical
data to support mobile viewing.
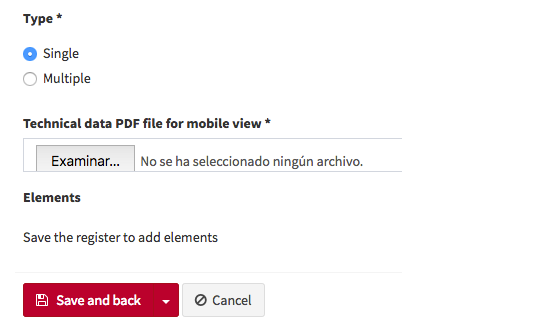
Once you have done that, click Save and back to save, then click Edit. Then you can add new elements.
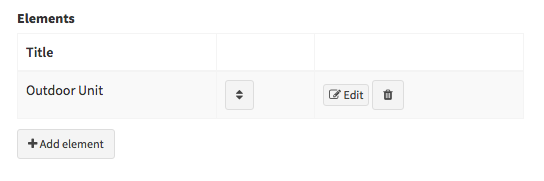
For example, the CSV archives for desktop viewing.
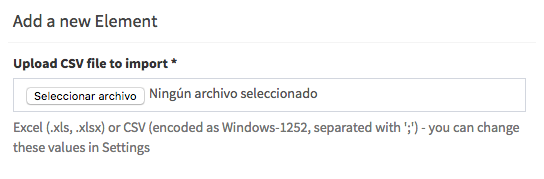
In CSV files the cell A1 must contain the table title. It can never be empty.
Multiple
is for products with more than one data table. If you have more than one CSV for one
product that means that you need to select Multiple as you have more than one
module.
If you select Multiple you will see a Title field and a
Categories creator. Title sets a master title for the all data tables, and Categories
creates subsections for the data tables.
Next, upload a PDF version of the technical
data to support mobile viewing. Save, then click Edit. Next, click Add Element to
upload the data tables in CSV format. Select the CSV (or Excel) file. Upload an image for
this element. Then select a previously created category.
Finally, click on Save
and back to finish updating your product.